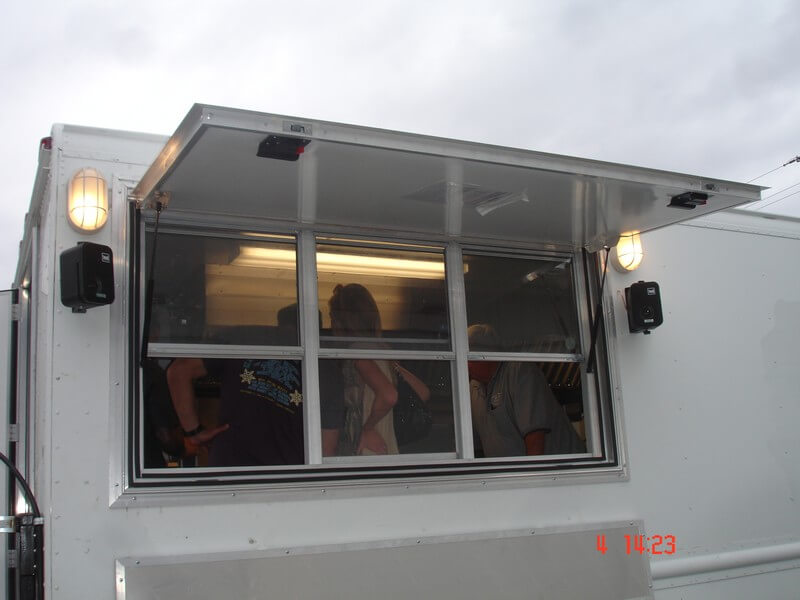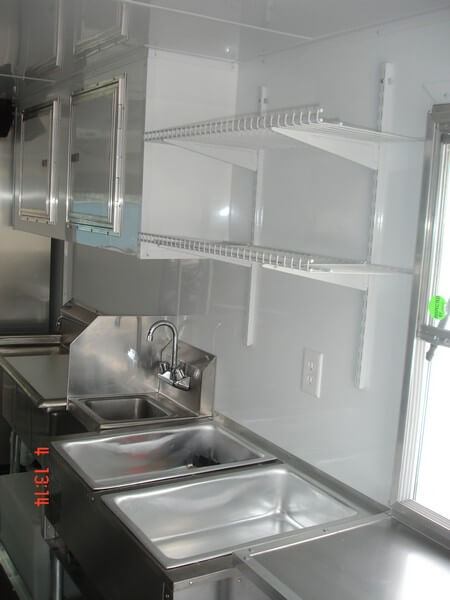
HOW TO BUILD A CONCESSION TRUCK
This page will show you the steps of taking a truck and turning it into a working concession truck! Our guys are always trying to improve on their skills and this truck turned out very nice. We are proud to show the timeline and the end results
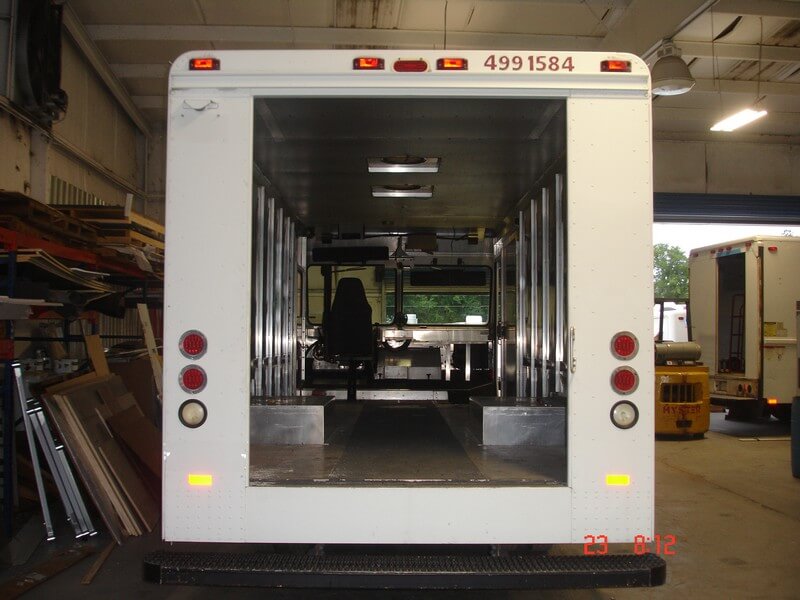
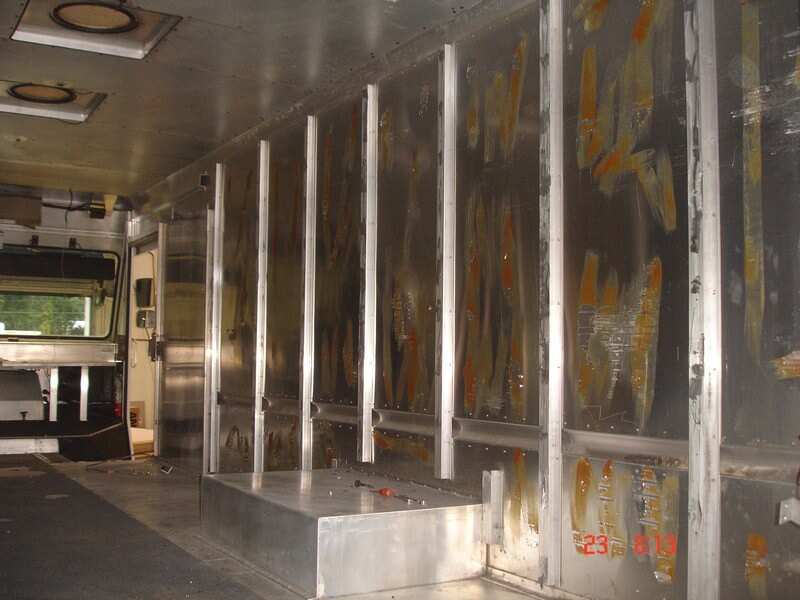
STEP 1 – DEMO
- Remove all content and previously used shelving or racks
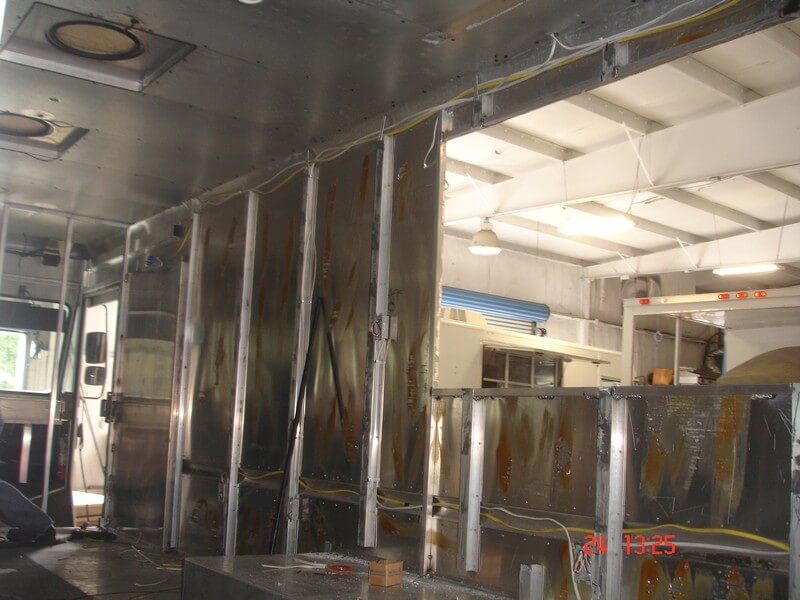
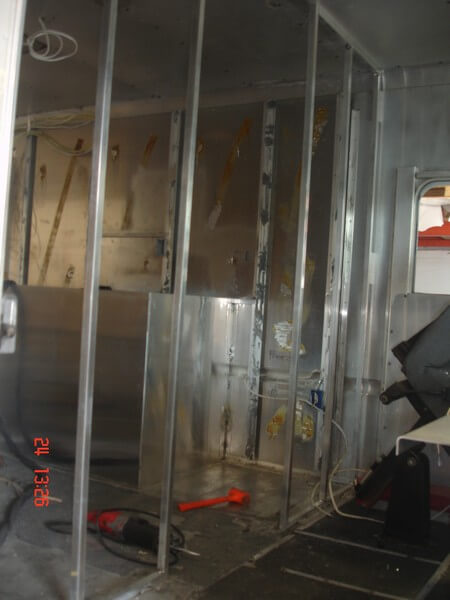
- Strip interior walls to expose wall framing and inside of wall skin
- Remove rear roll down door and cut out track
- Remove divider wall between cab and box
- Remove any wiring and lighting that will not be used
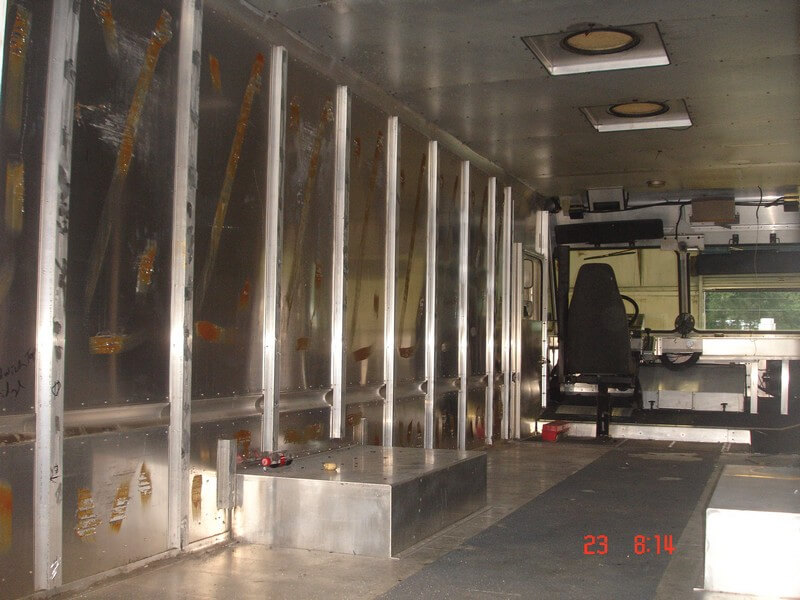
STEP 2 – LAYOUT
- Mark and identify outlets and fixtures
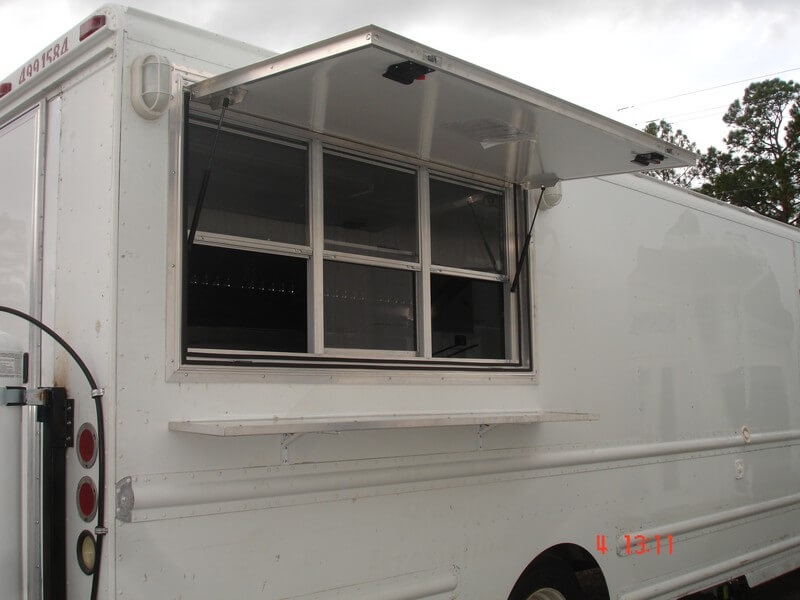
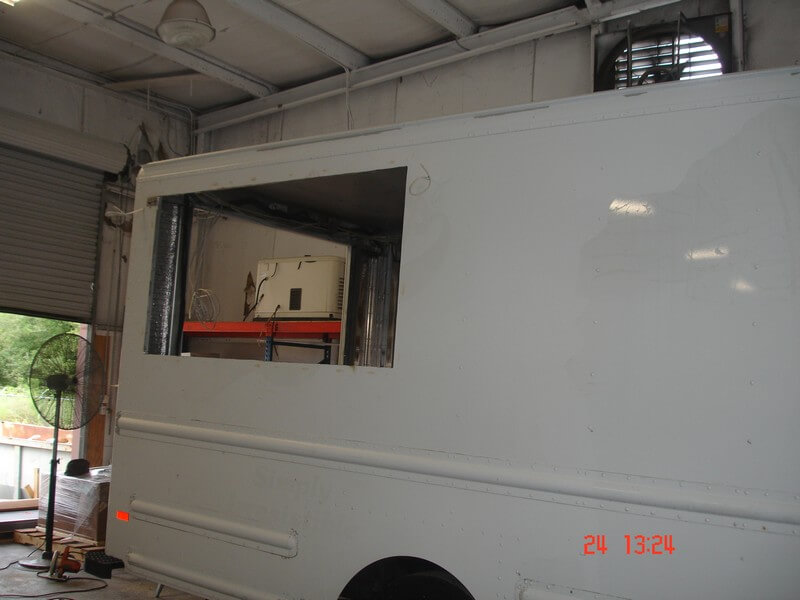
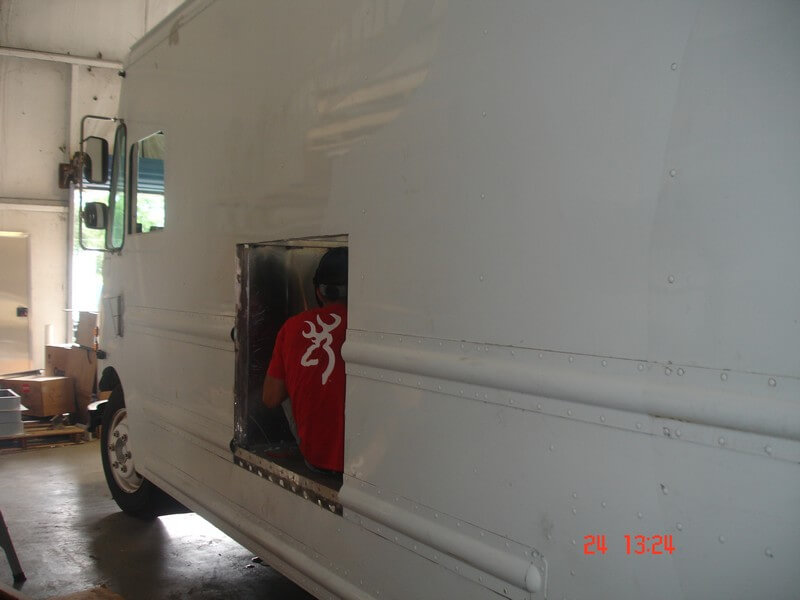
- Determine exact location to cut out concession window
- Determine back wall and divider wall location and configuration
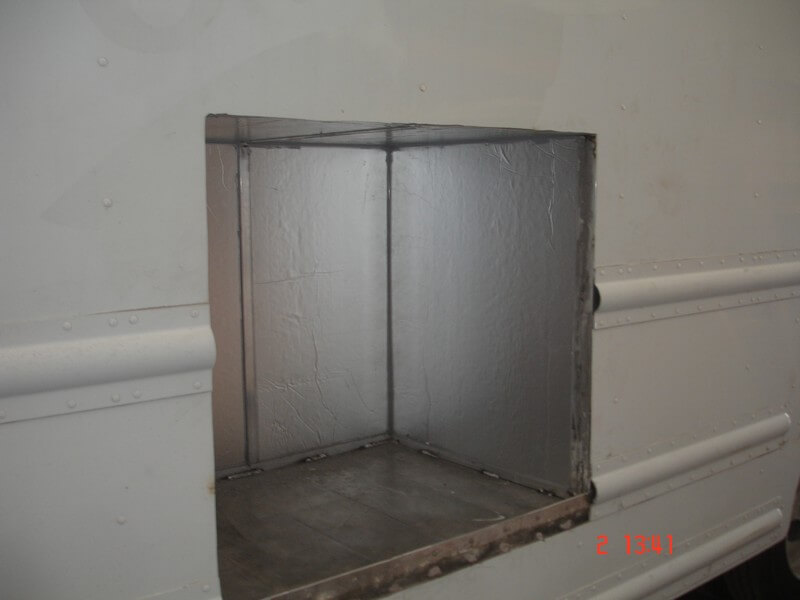
- Determine generator box location
STEP 3 – ROUGH ELECTRIC
- Install outlet boxes as needed
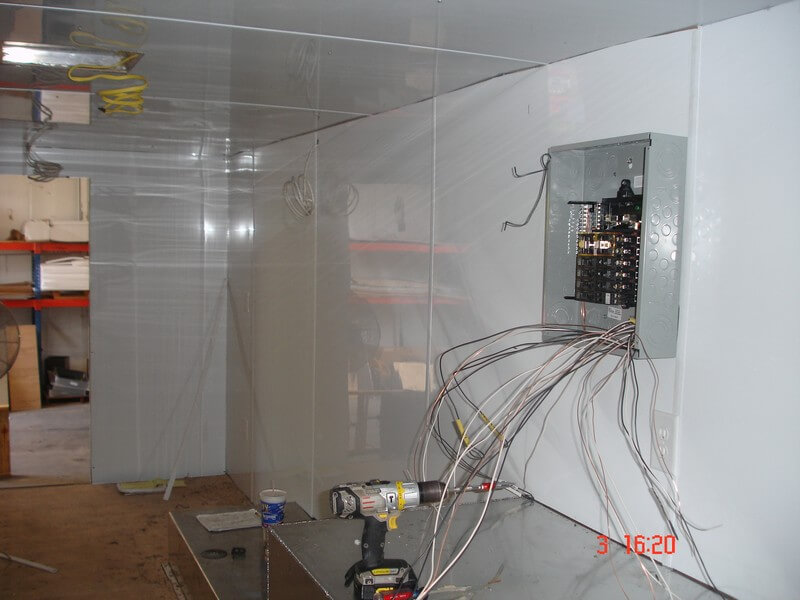
- Run wire to all circuits and back to panel
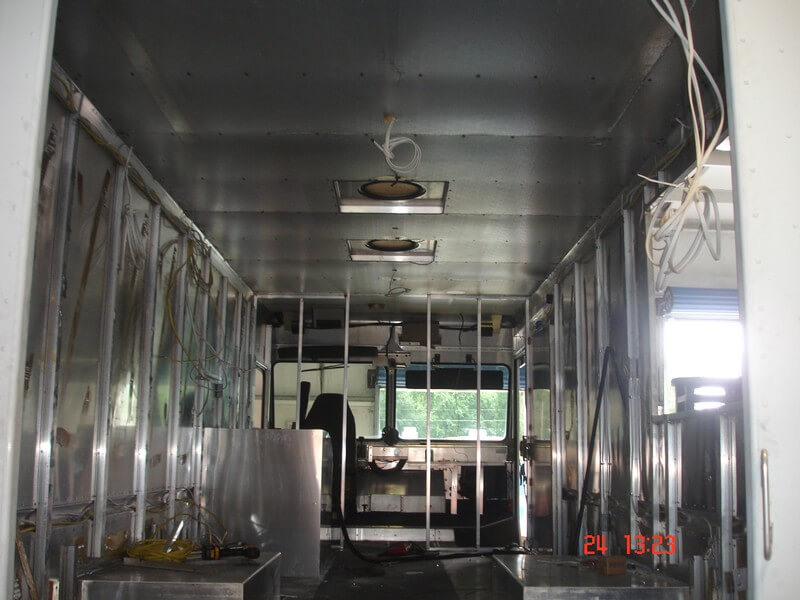
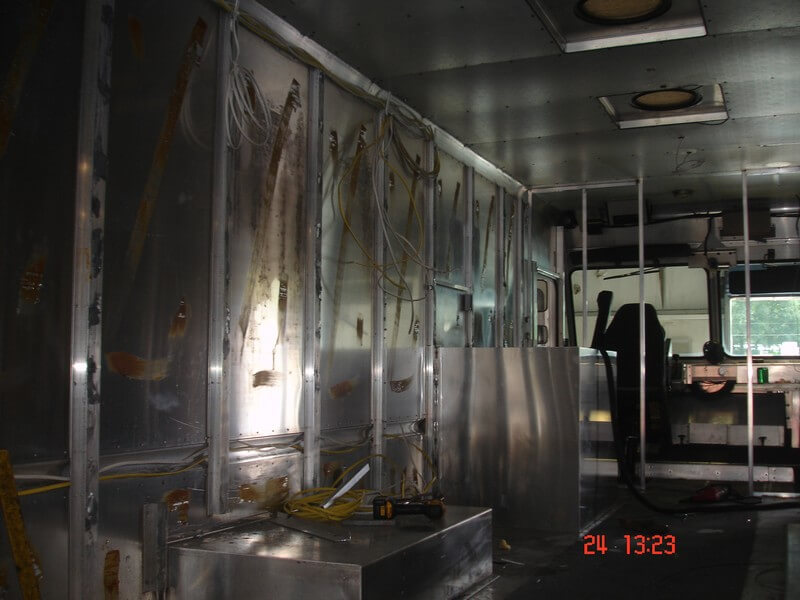
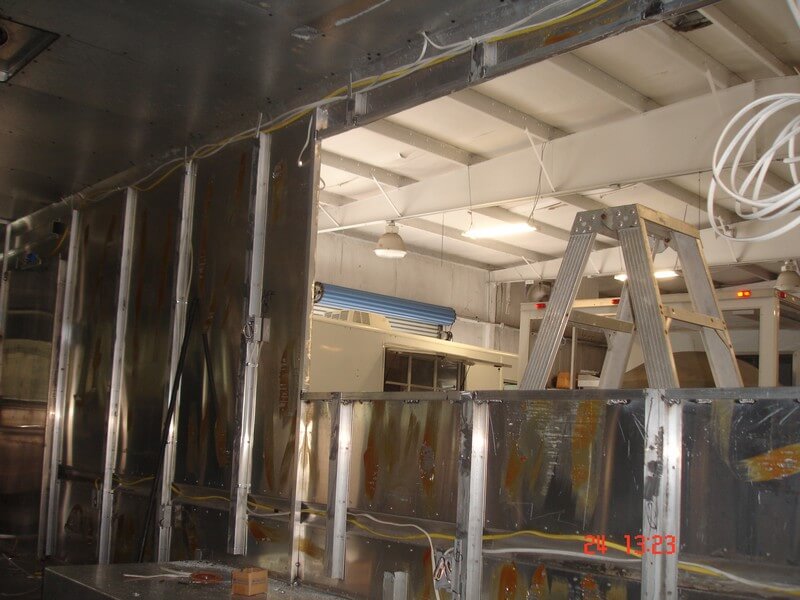
STEP 4 – FRAMING
- Add framing as needed to provide fastening
- Reinforce framing in areas of hood and A/C installation
- Cut opening for A/C
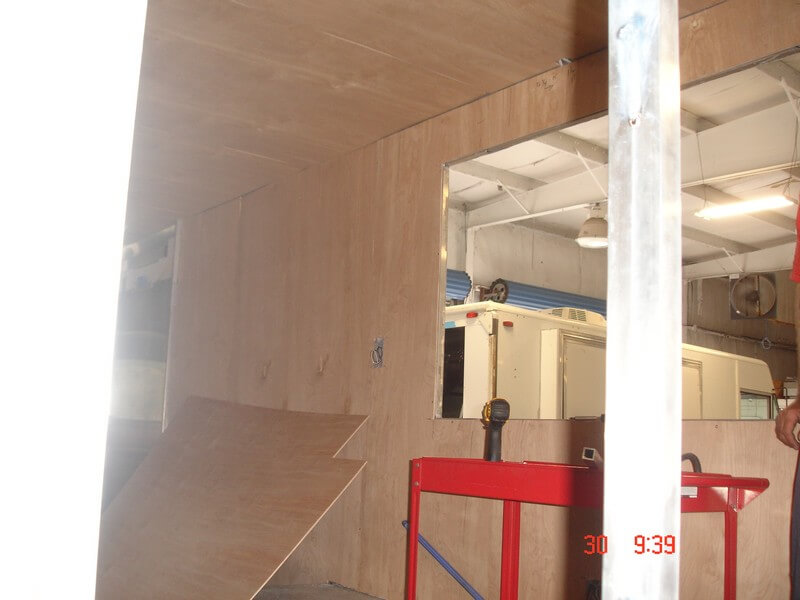
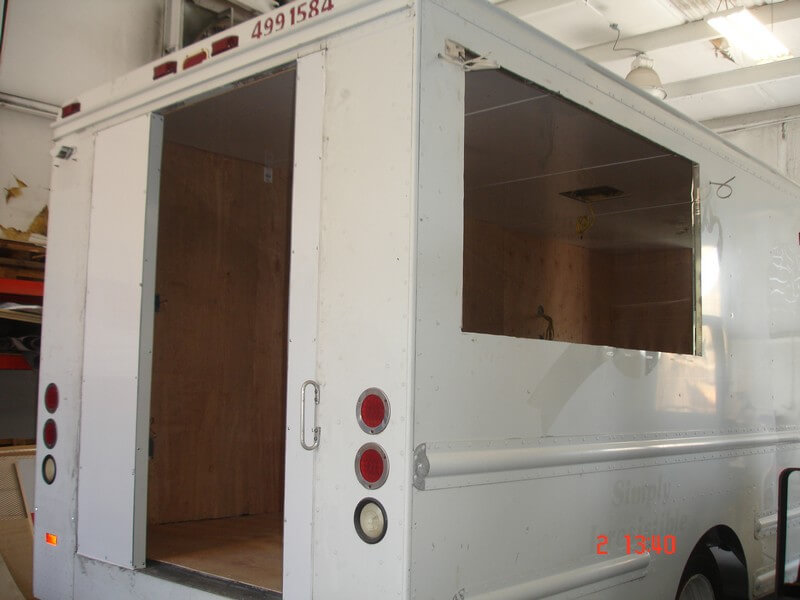
- Cut and frame for concession window
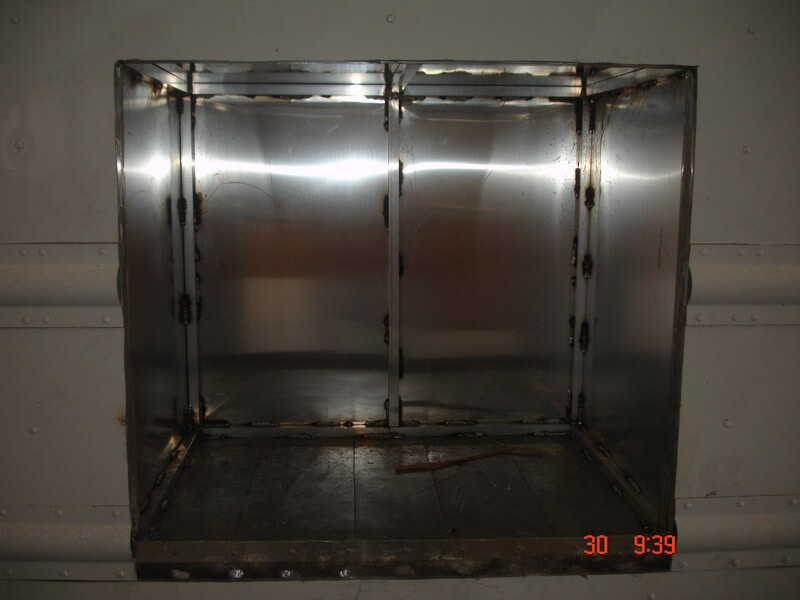
- Frame generator box
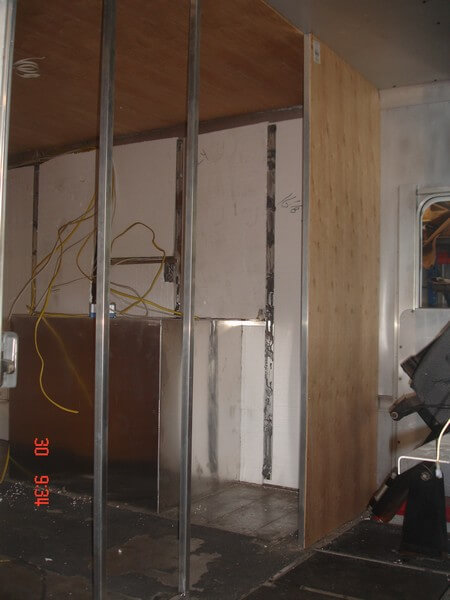
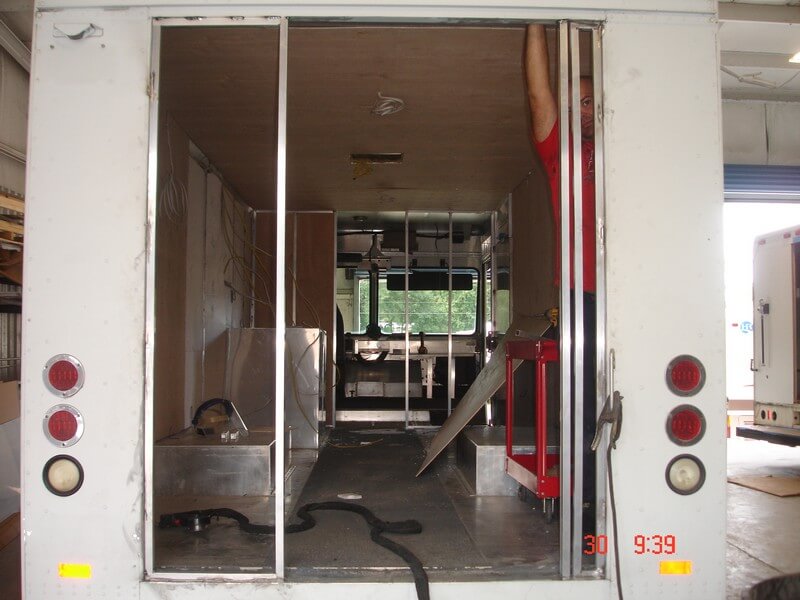
- Frame divider and rear wall and doo

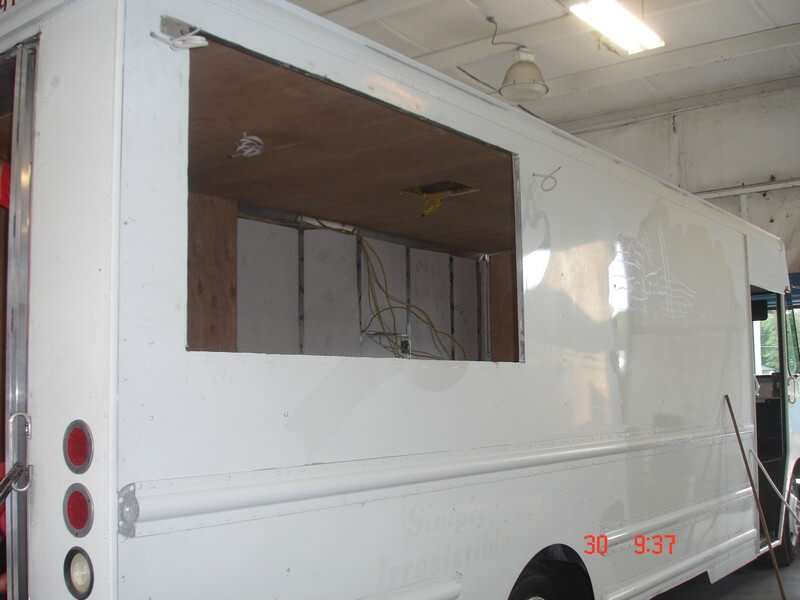
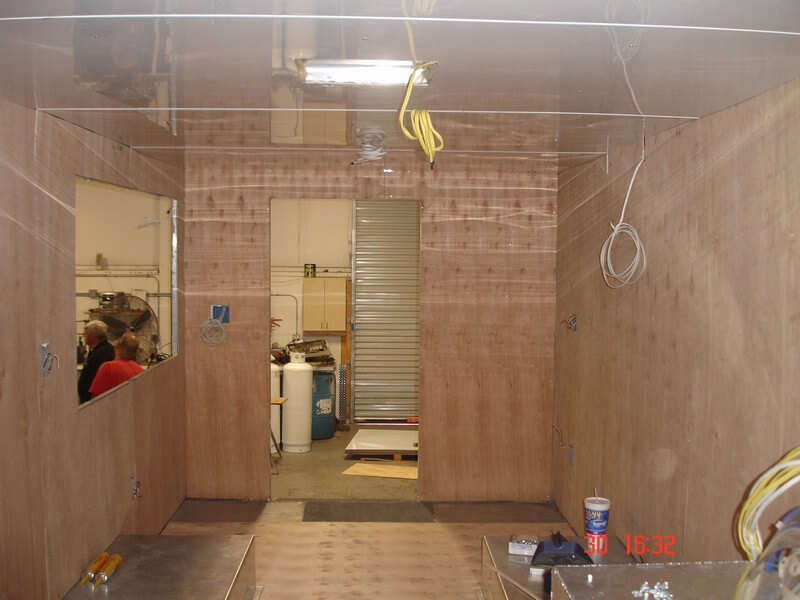
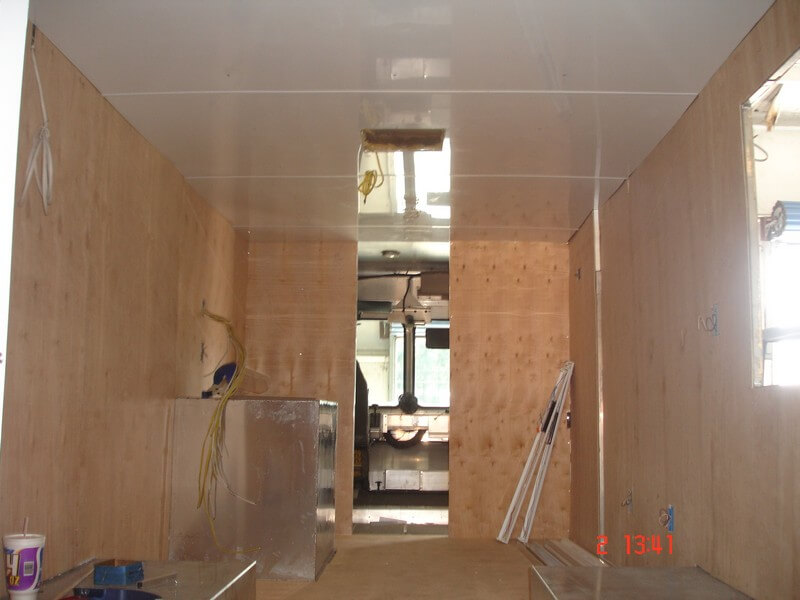
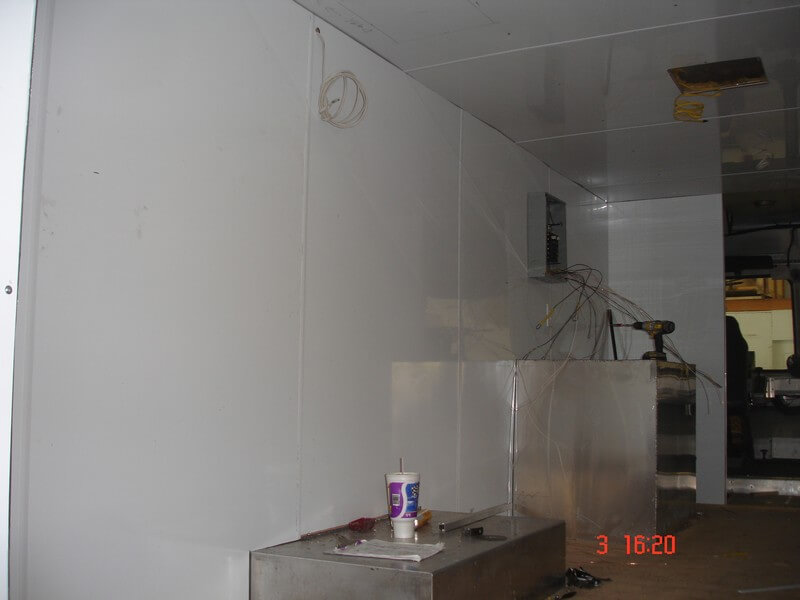
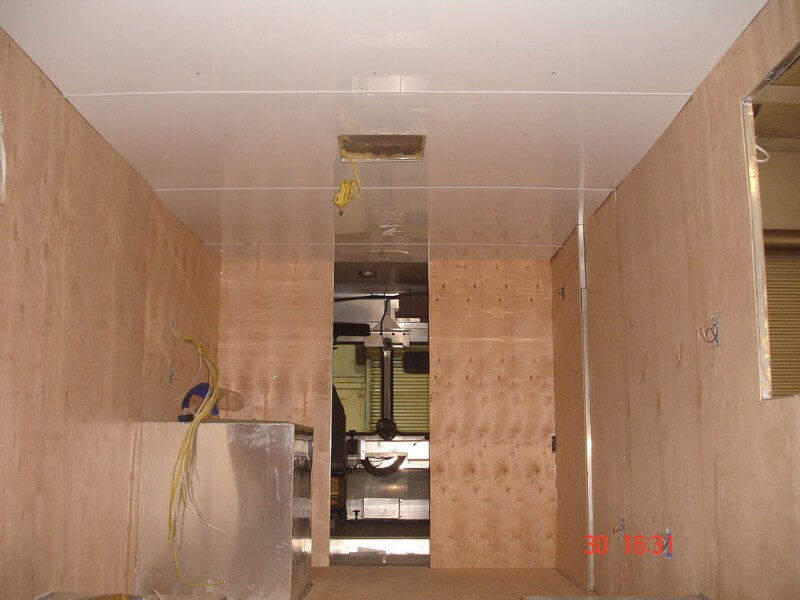
STEP 5 – INSULATION AND FINISHED WALLS
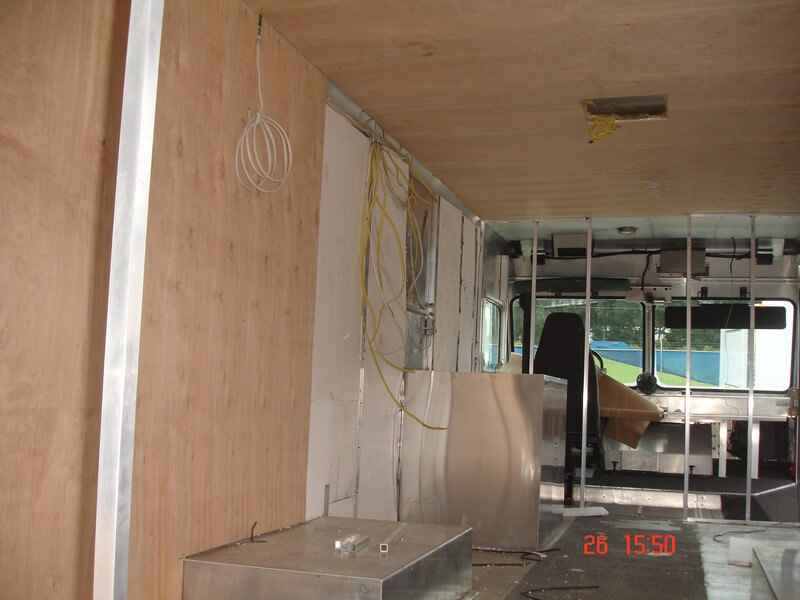
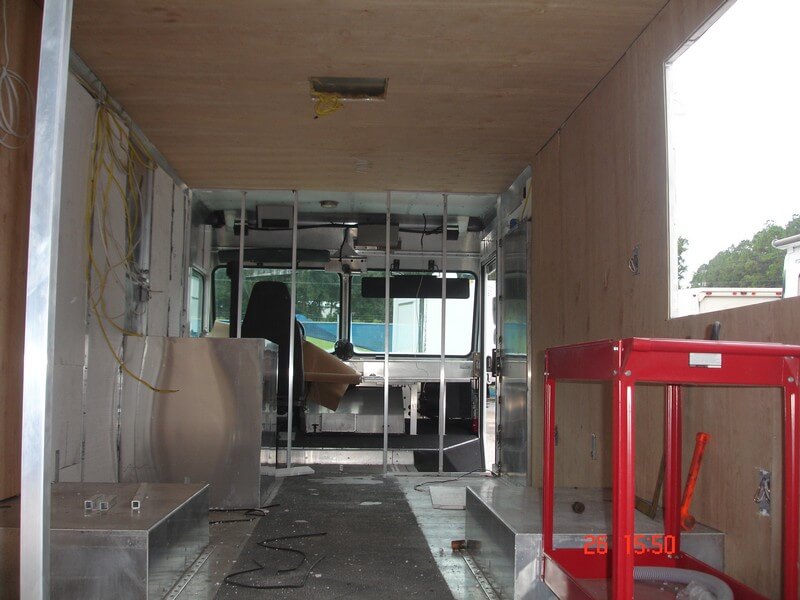
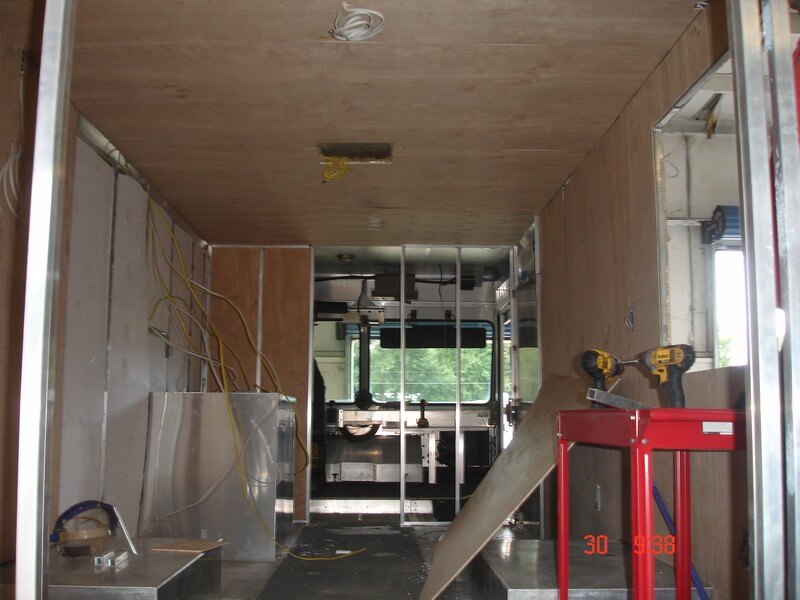
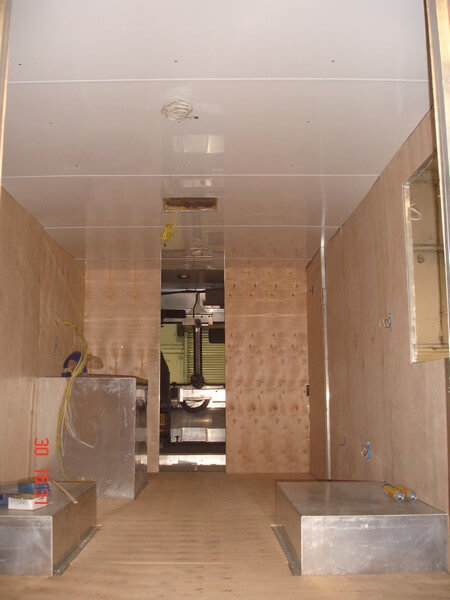
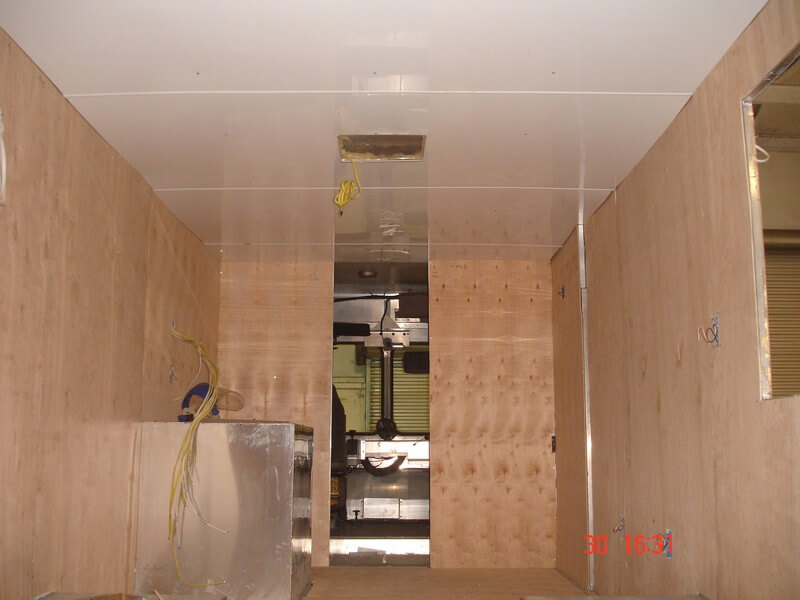
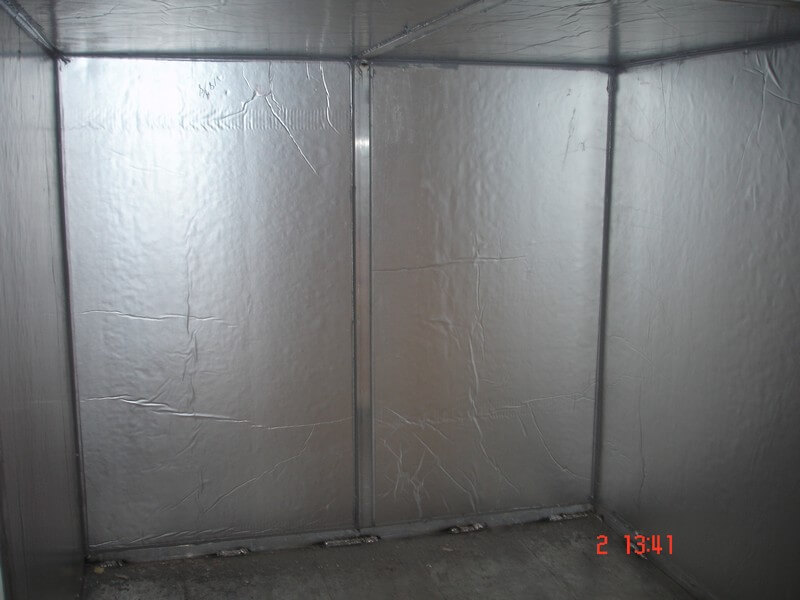
- Install insulation panels in walls and ceiling
- Foam all gaps and crevasses
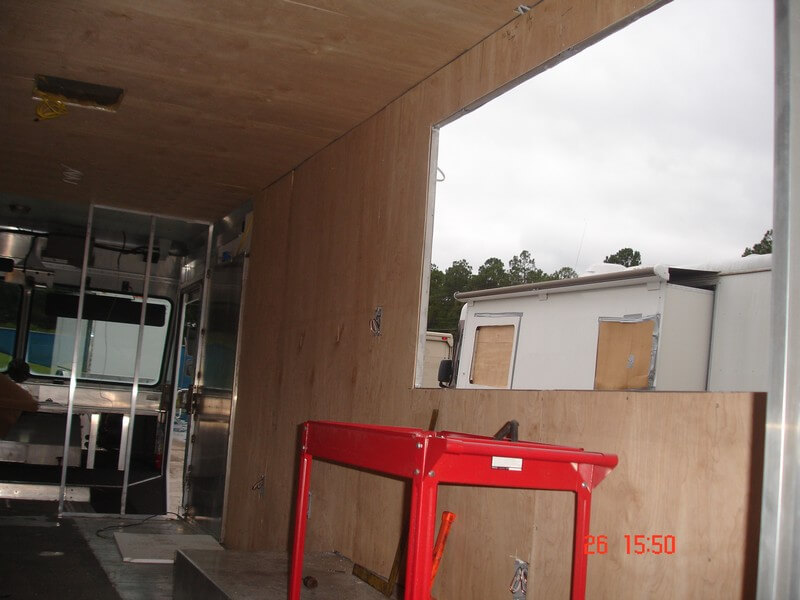
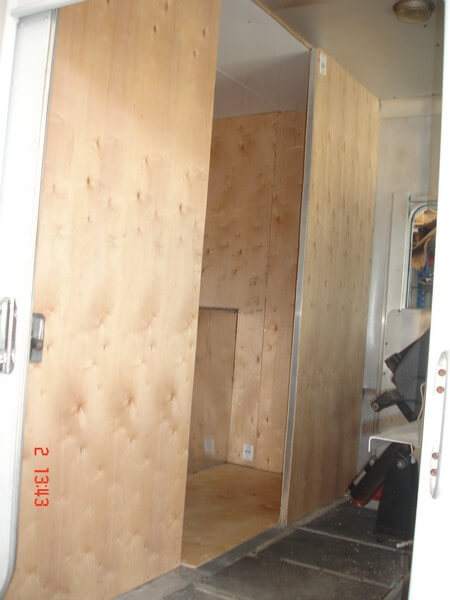
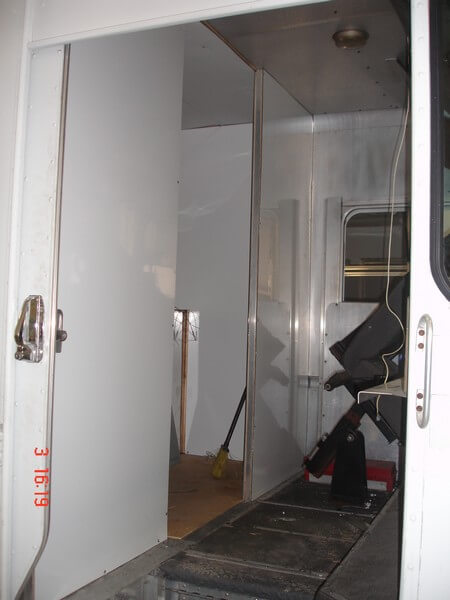
- Install sub walls and sub ceiling
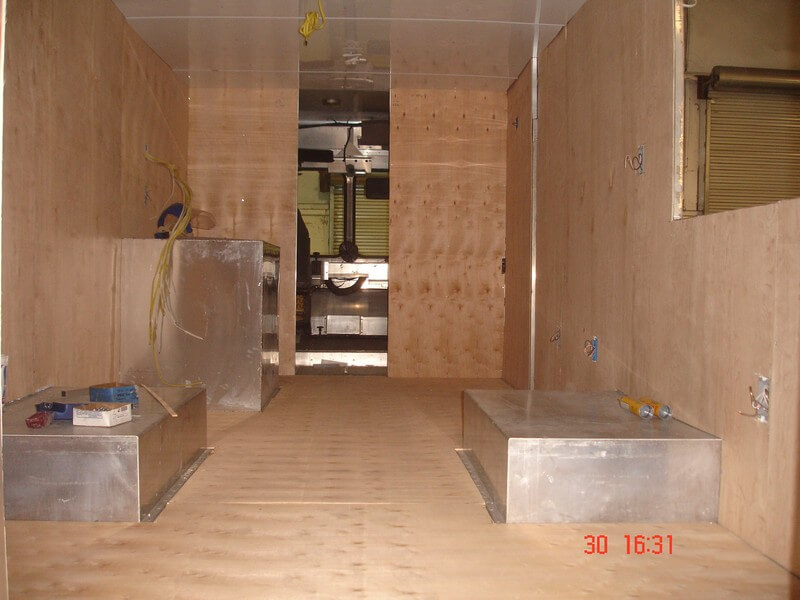
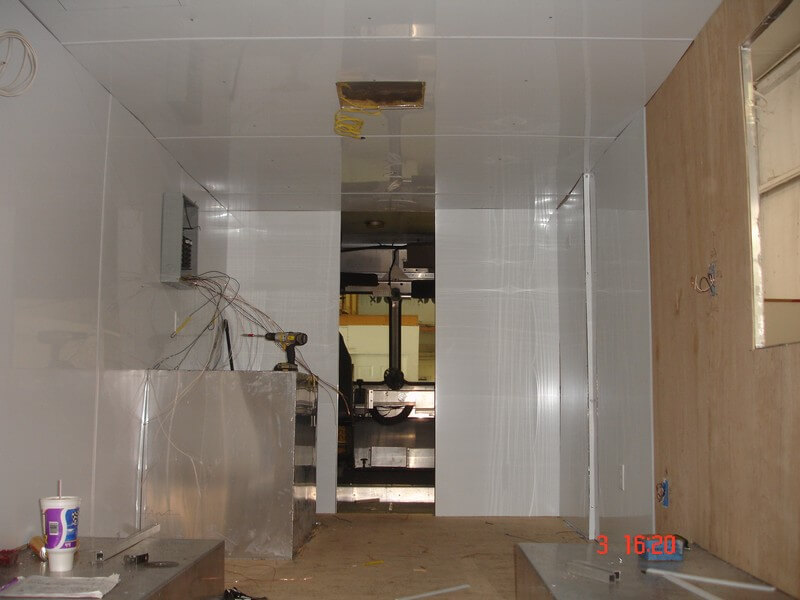
- Install finish wall and ceiling material
- Install outer skin on back wall
- Sheet generator box
- Install sub floor
STEP 6 – GAS
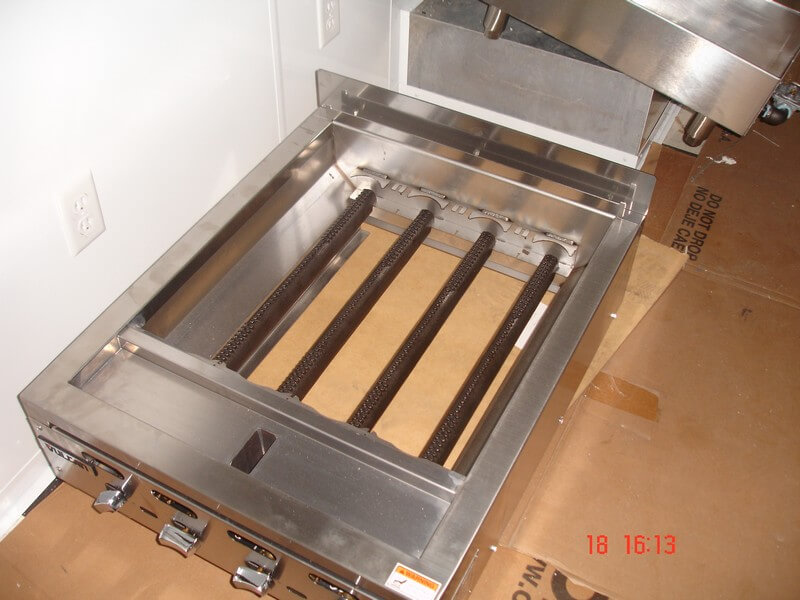
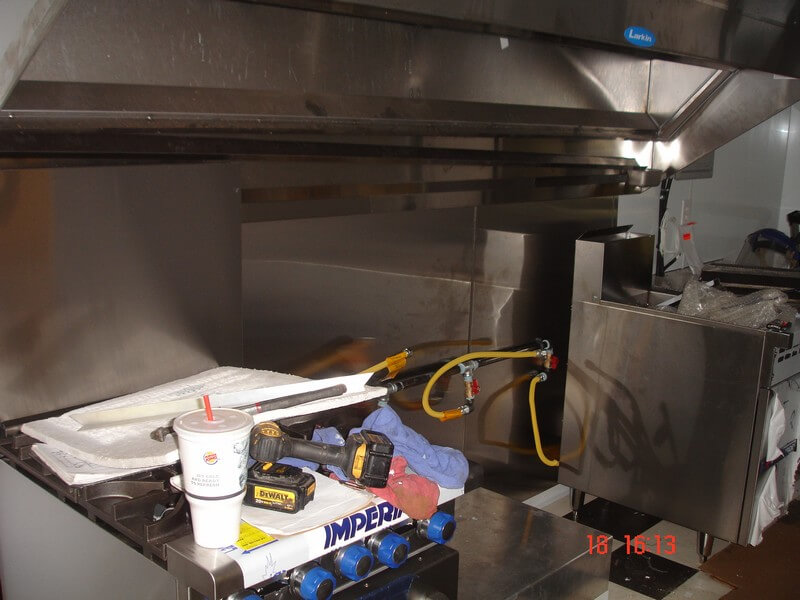
- Fabricate and install gas manifold for equipment
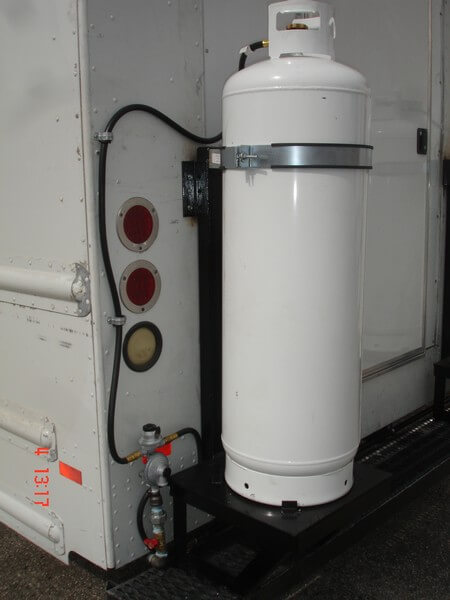
- Run manifold to tank location and Install regulator
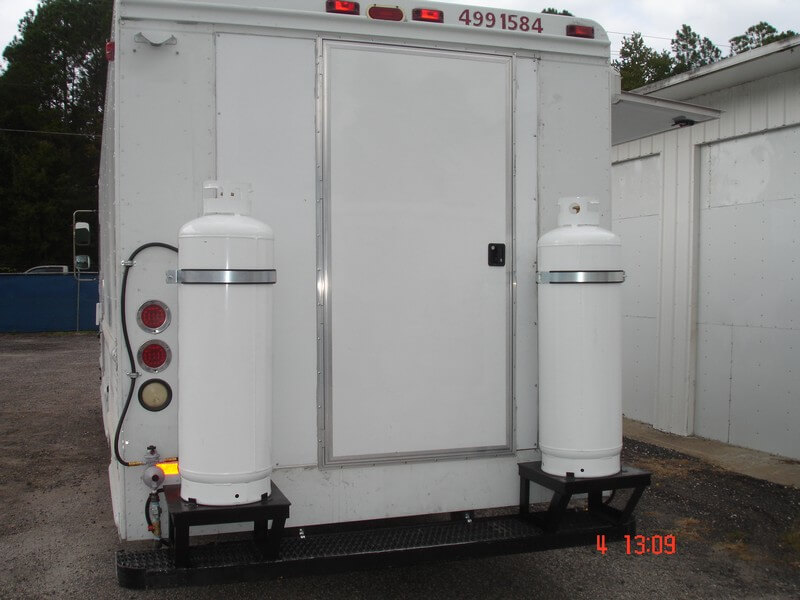
- Fabricate and install tank racks
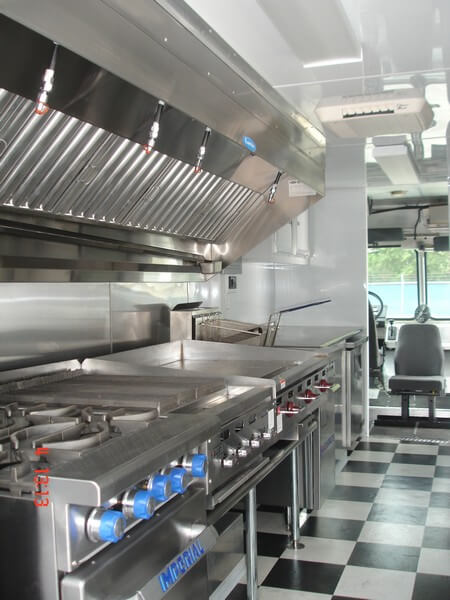
STEP 7 – HOOD
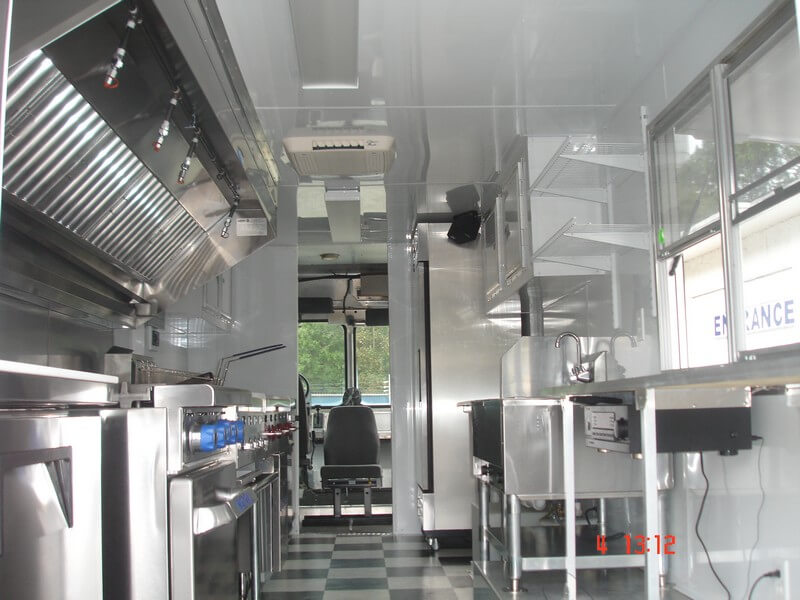
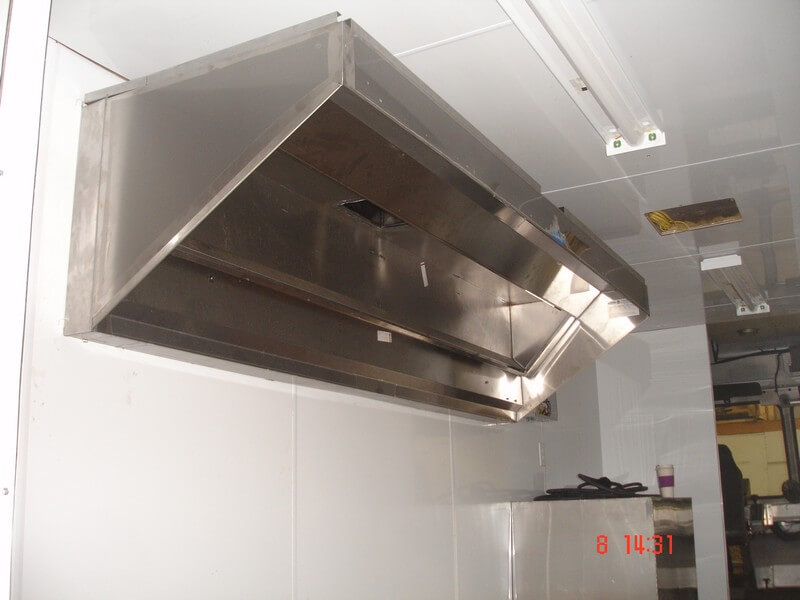
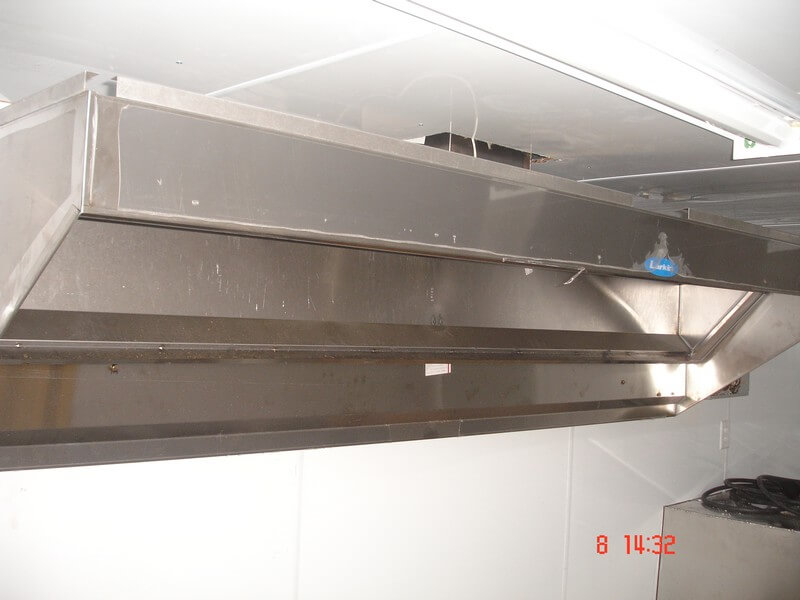
- Install interior hood to wall and install drop rods for ceiling support
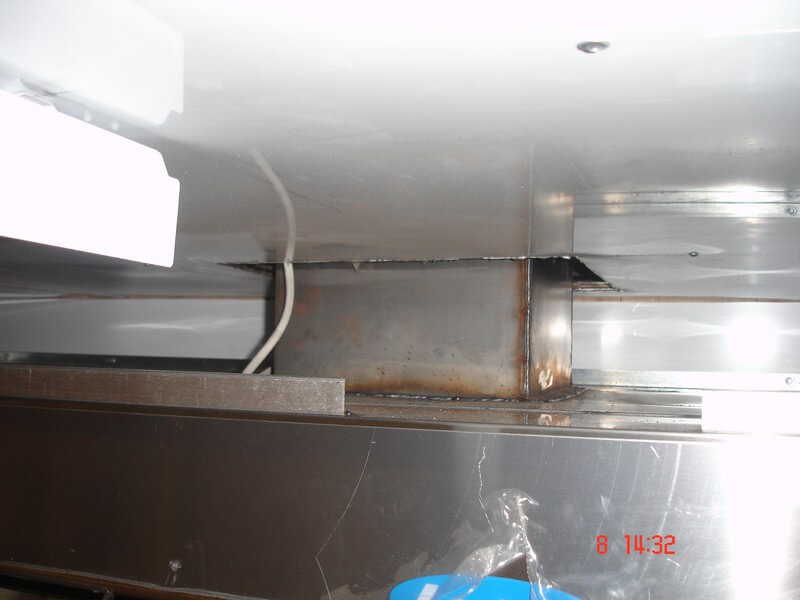
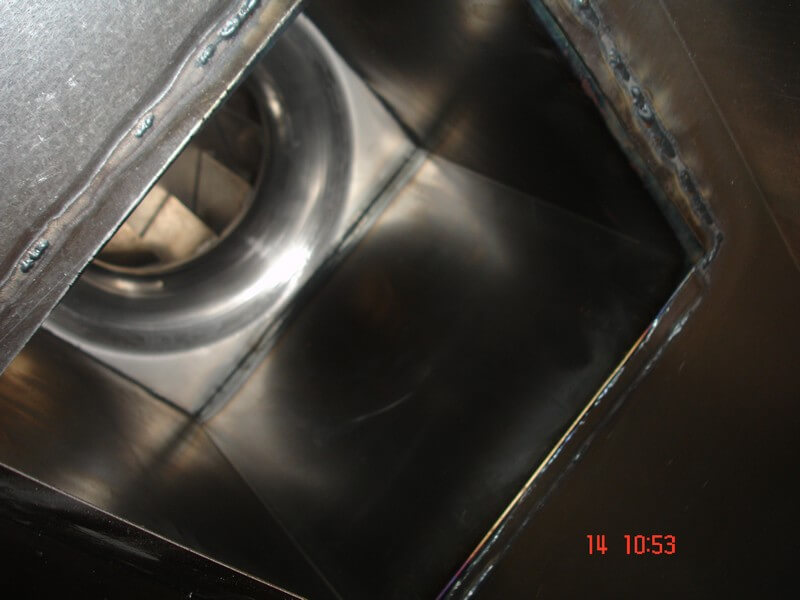
- Cut out roof of truck to accommodate fan duct
- Fabricate and install duct with offset from edge of truck
- Fabricate and install roof curb for fan to eliminate potential leaks
- Install fan on curb
- Weld connections between fan, duct and hood
- Connect wiring too fan motor
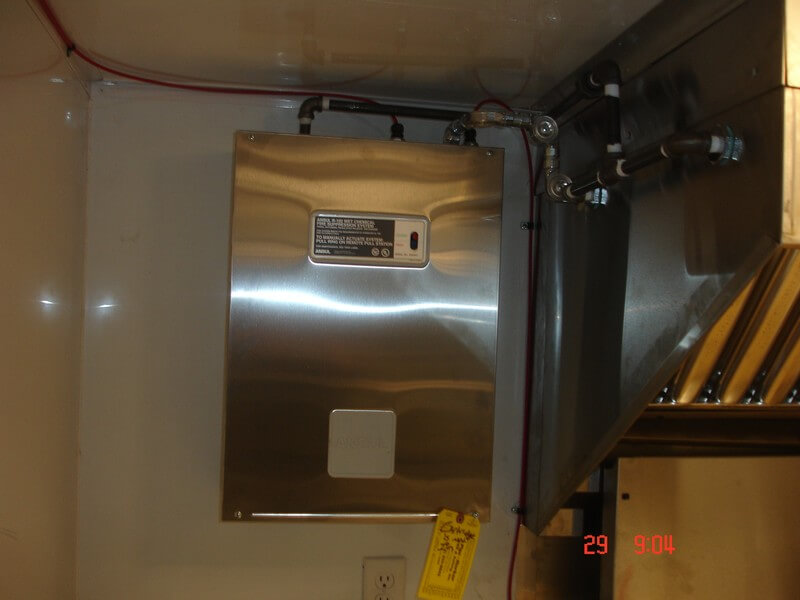
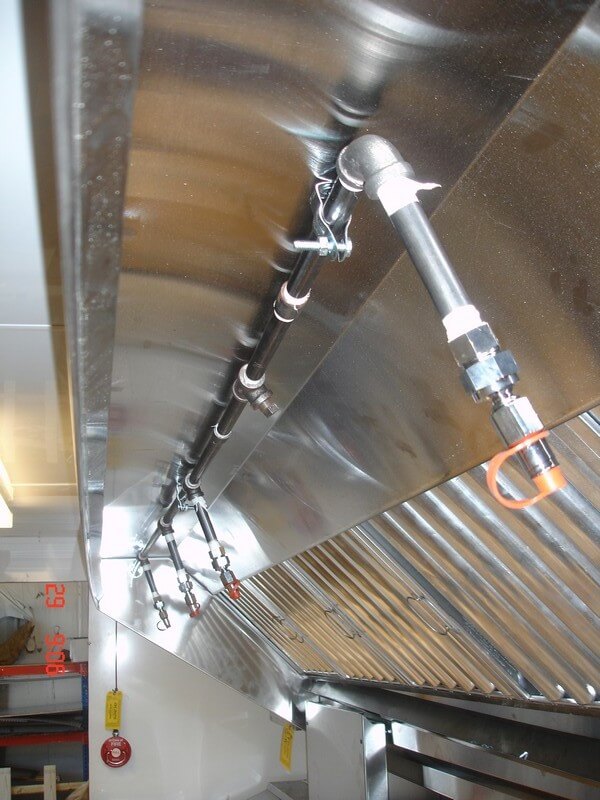
- Install Fire Suppression System
STEP 8 – PRE-EQUIPMENT LOAD
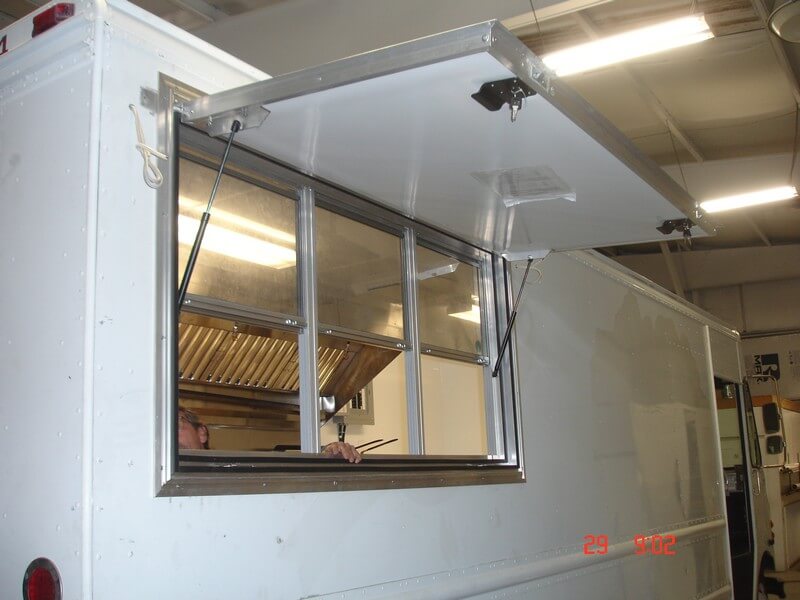
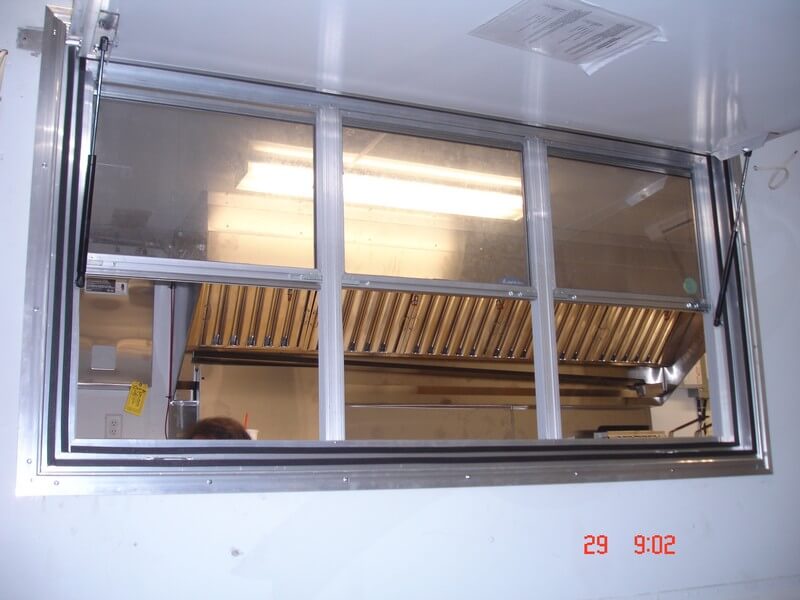
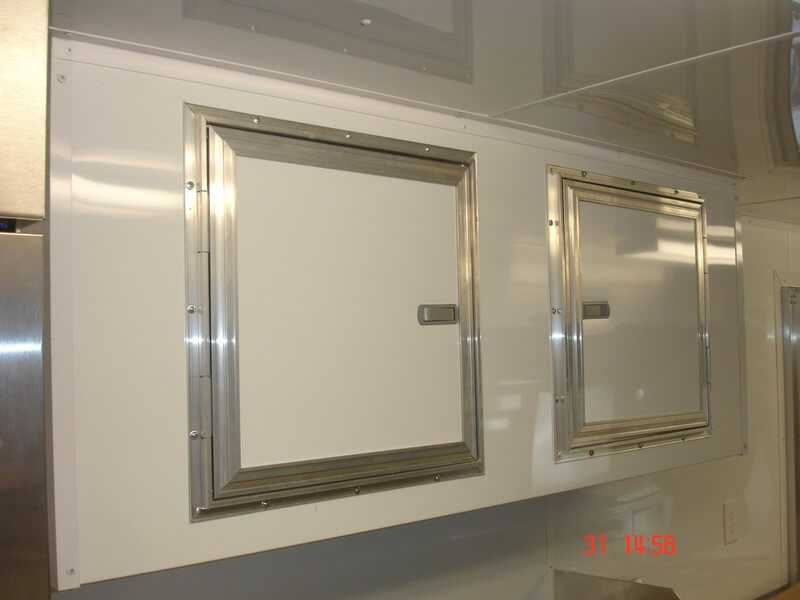
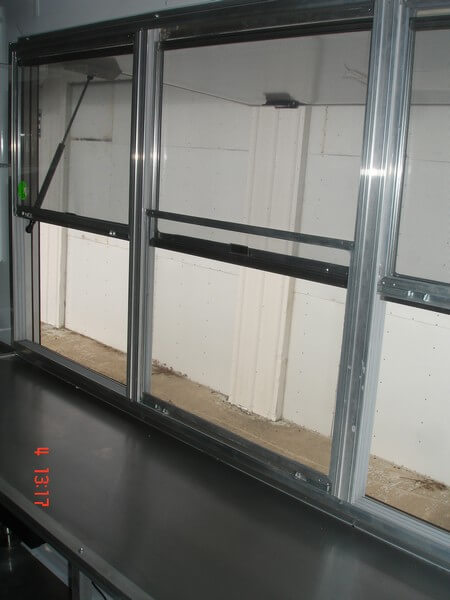
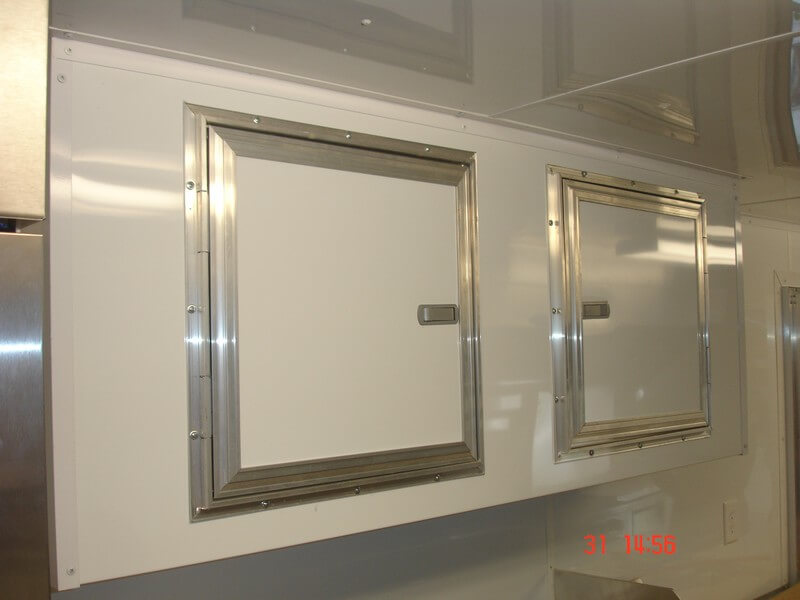
- Install concession window and door
- Install and connect A/C unit
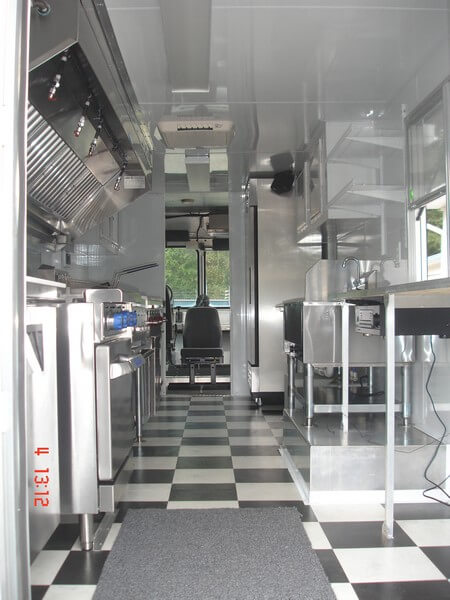
- Install finish floor material
- Install floor and wall moldings
- Modify and install equipment tables
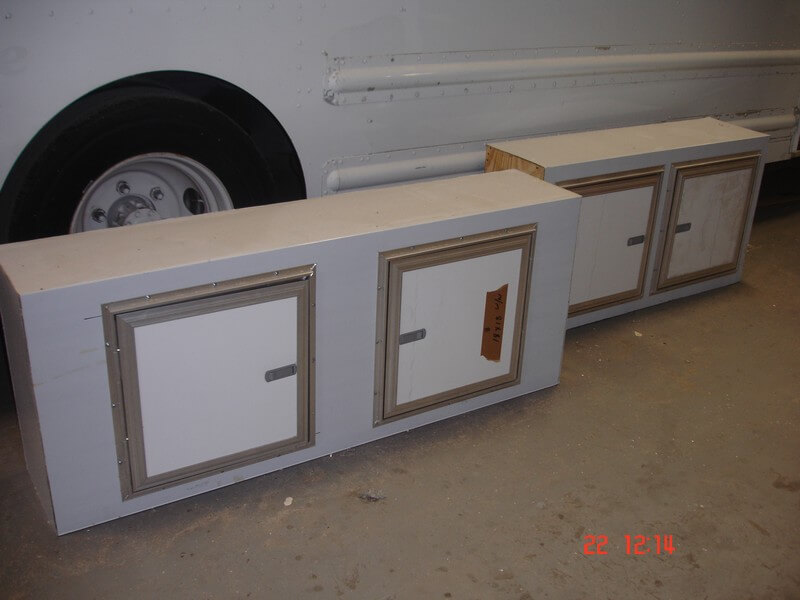
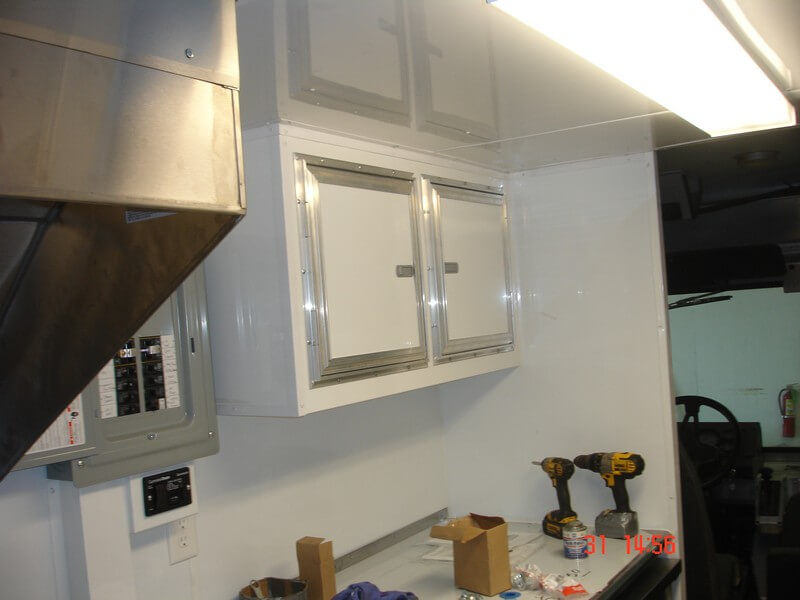
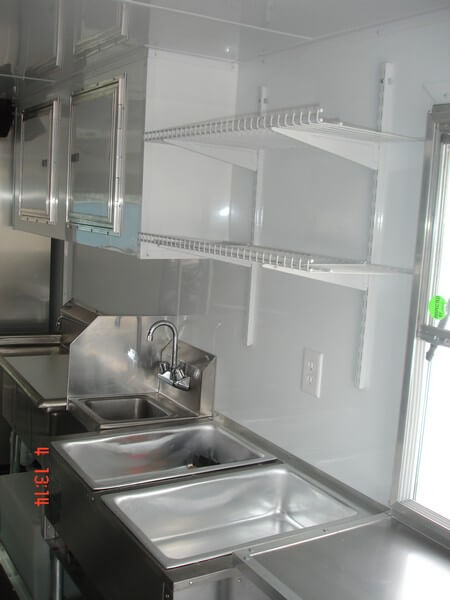
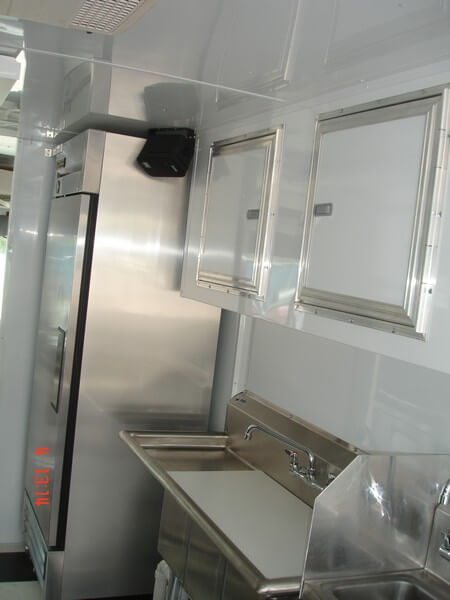
- Install cabinets and countertops
STEP 9 – FINISH ELECTRIC
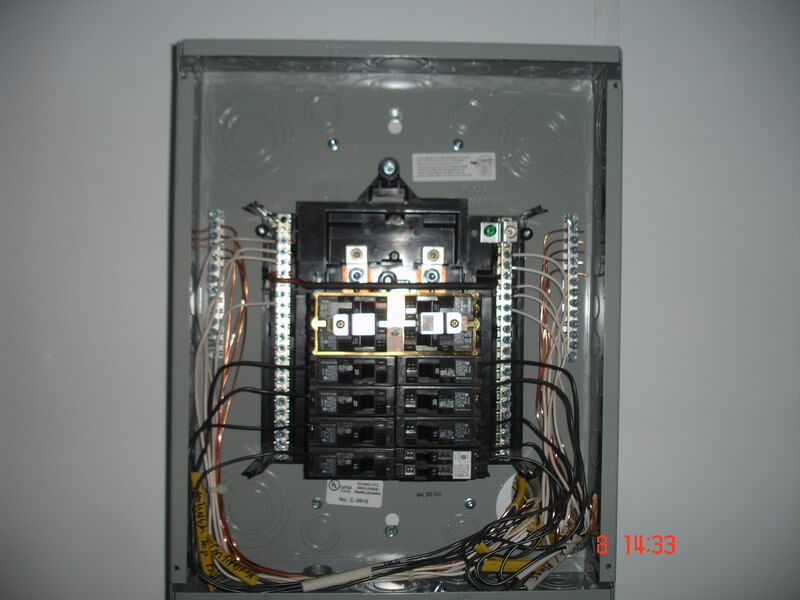
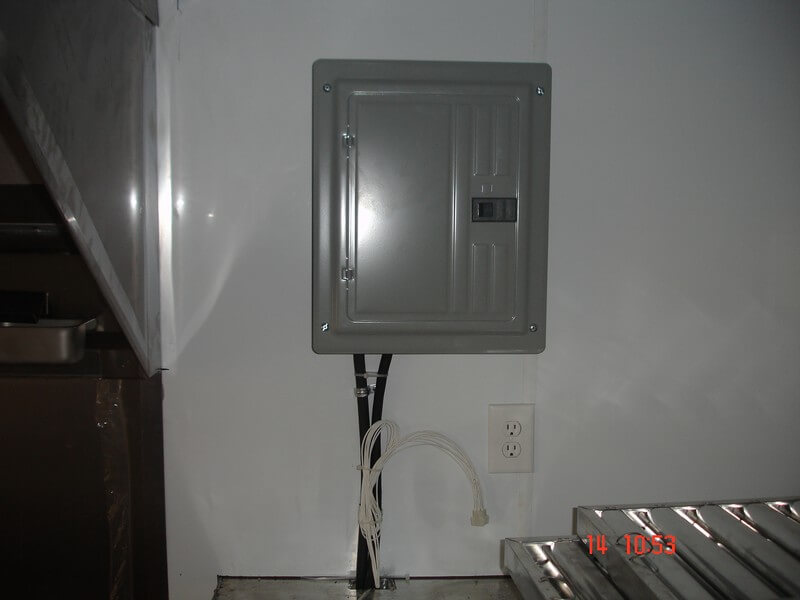
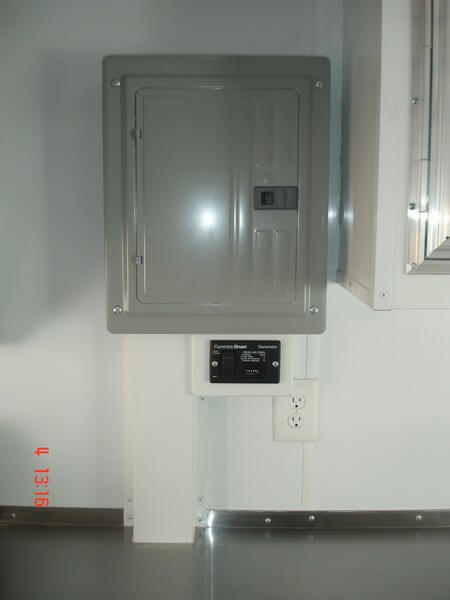
- Install panel
- Install breakers
- Land wires to breakers
- Install lighting fixtures
- Install outlets and switches
- Install electric and A/C trim kits
STEP 10 – LOAD EQUIPMENT
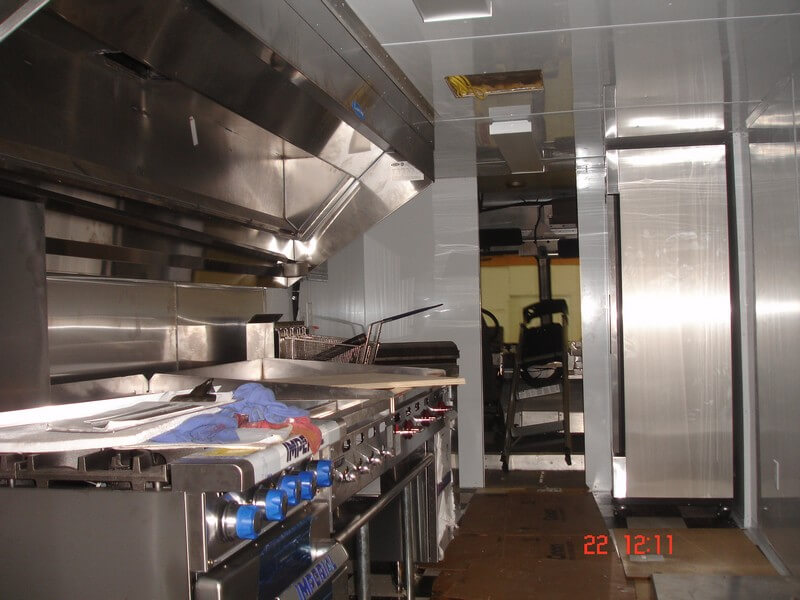
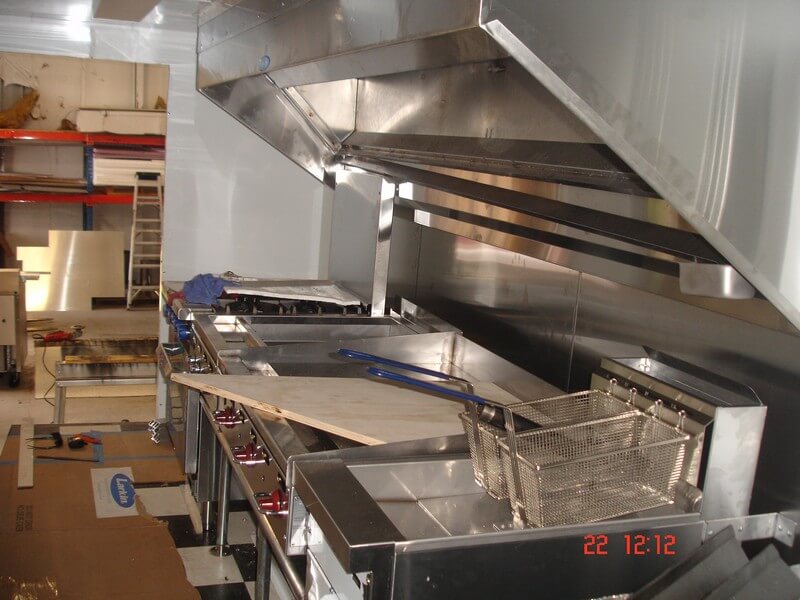
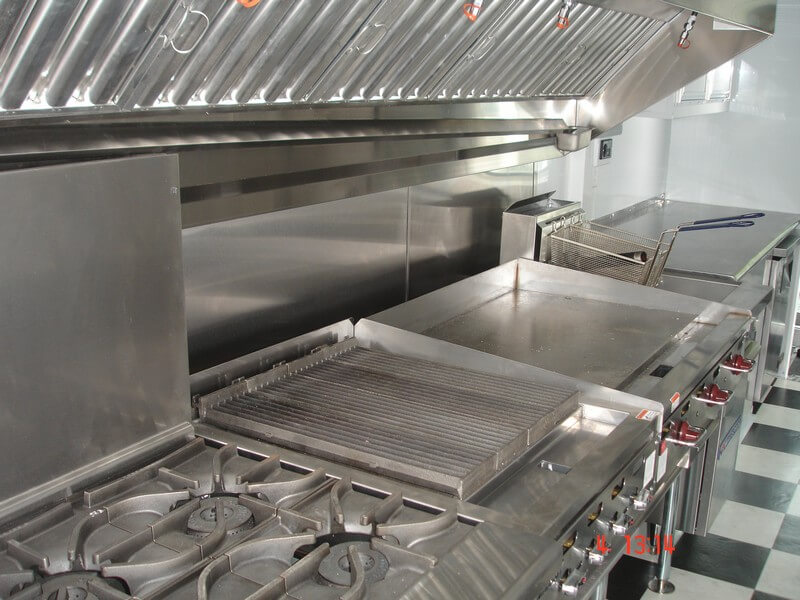
- Place equipment lin e under hood
- Place refrigerator and remaining appliances in truck
- Place wortables
- Secure all equipment, appliances and tables to walls and floor
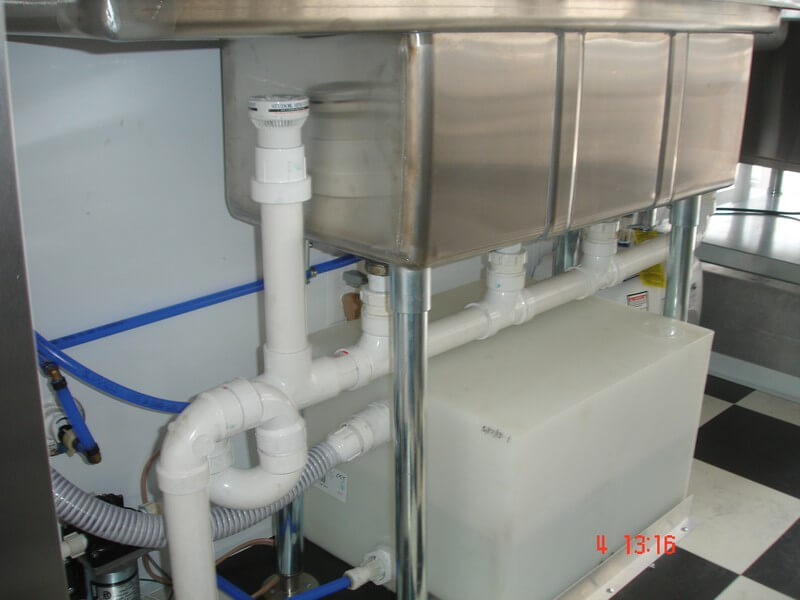
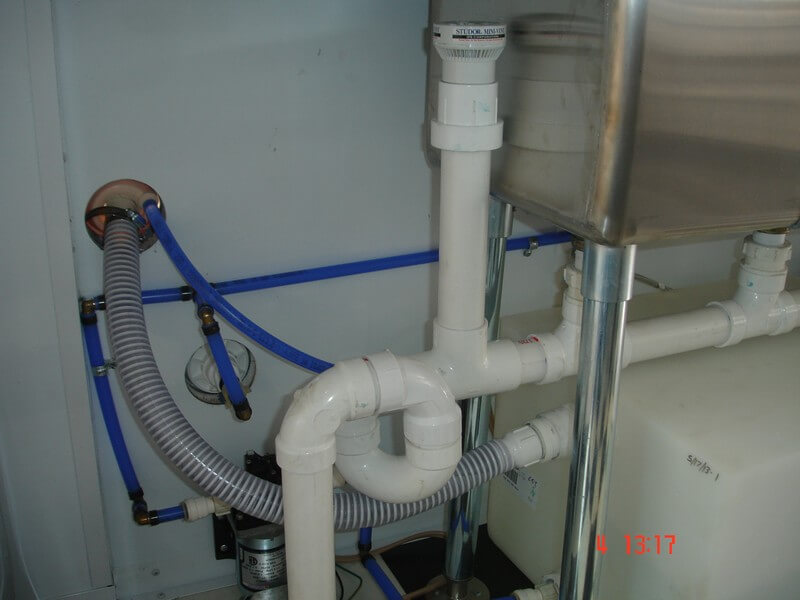
STEP 11 – PLUMBING
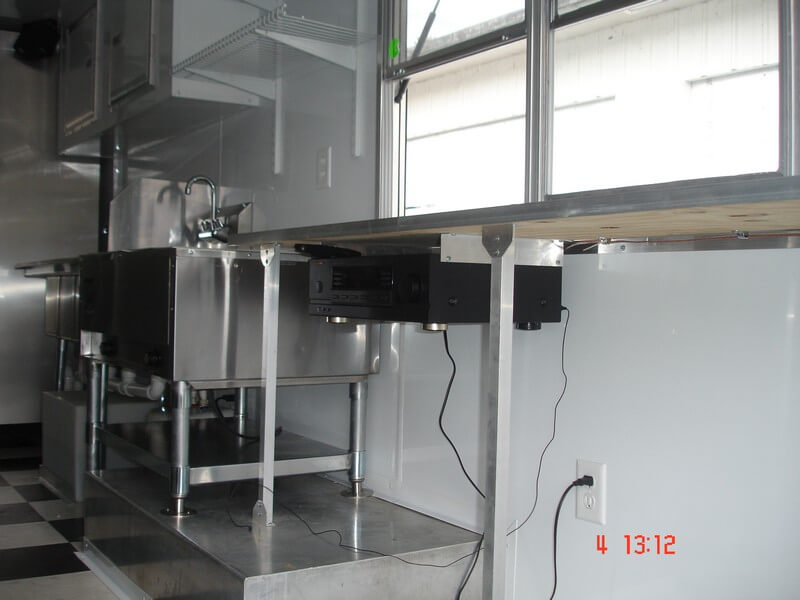
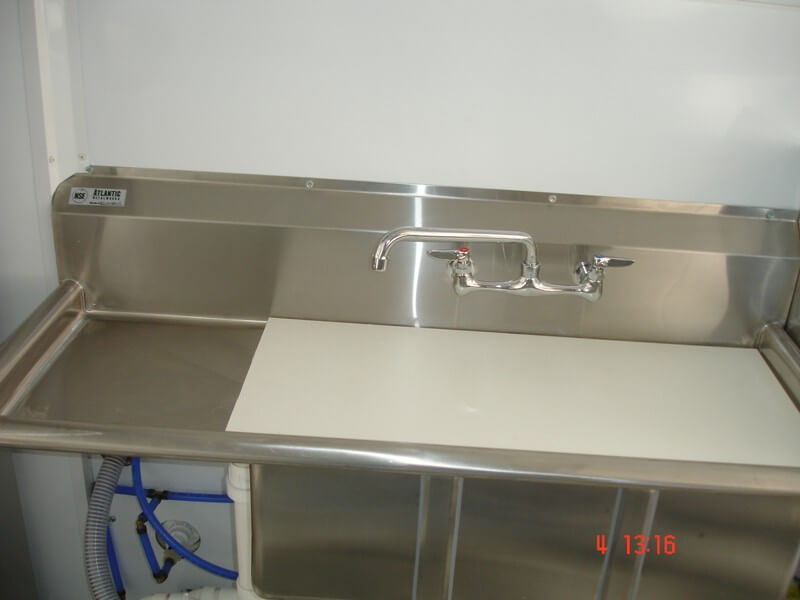
- Place sinks
- Set fresh water tank, water heater and pump
- Install fixtures
- Plumb all supply and waste lines
- Install dump valve
- Install and plumb gravity and city water supply fixtures and lines
- Secure sinks and all plumbing accessories
STEP 12 – GENERATOR
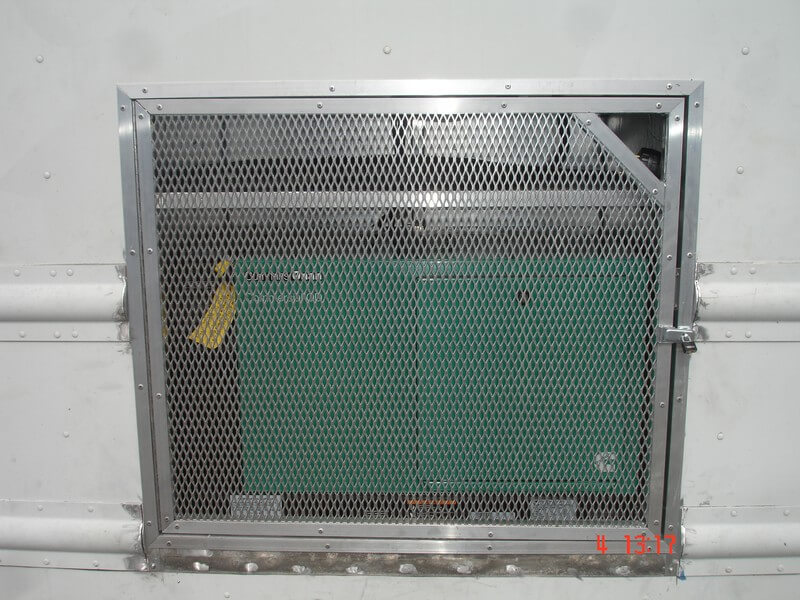
- Set and secure generator in place
- Make connections from generator to panel and transfer switch
- Connect remote start inside truck
- Install shore power receptacle and make shore power cord
- Build shelf in generator box for shore cord storage
- Fabricate and install vented generator box door
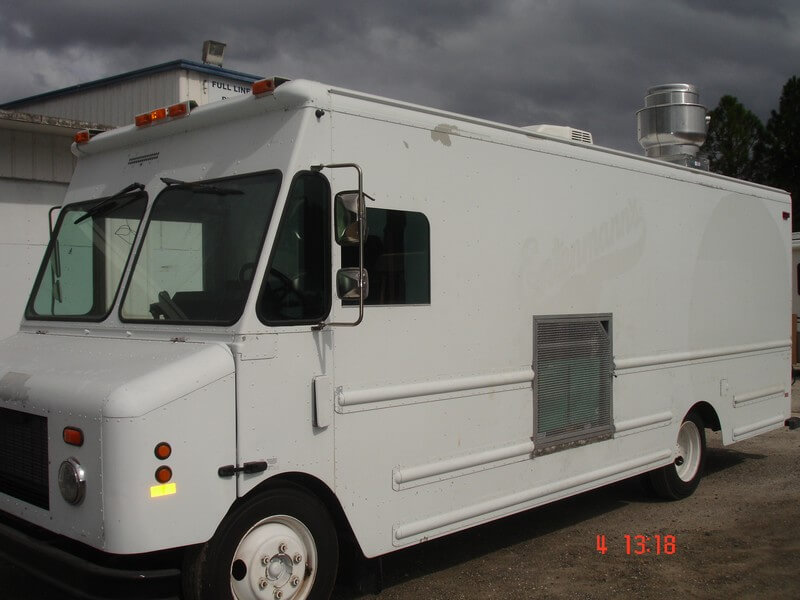
STEP 13 – FINISH
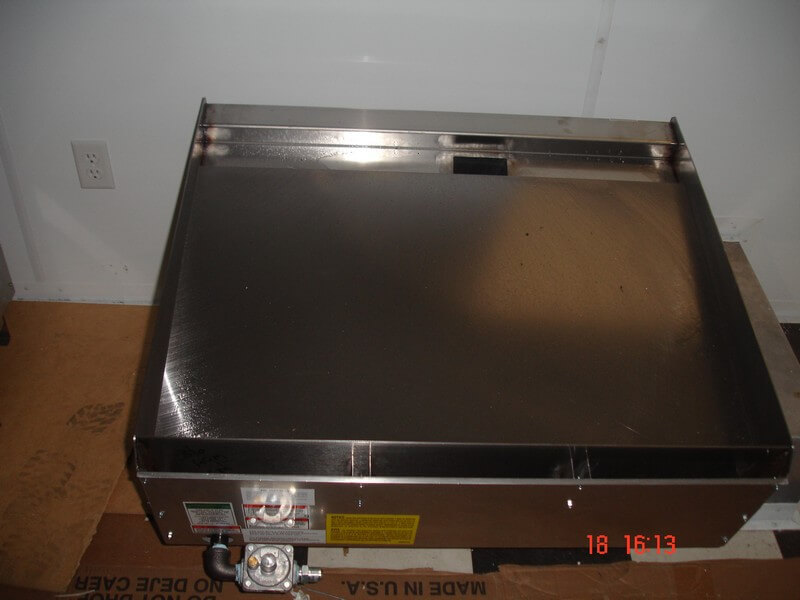
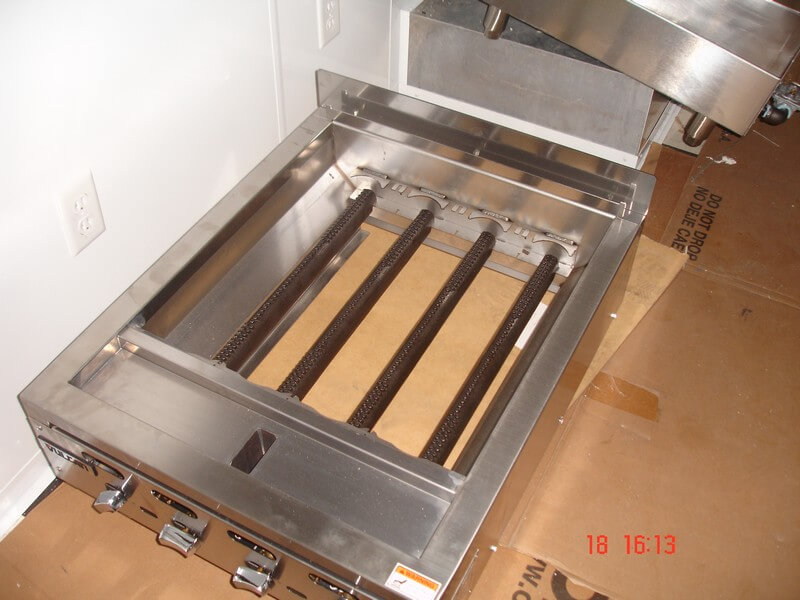
- Make final gas connections from manifold to equipment
- Set propane tanks
- Make connections from gas tanks to pressure regulator
- Spray all gas line joints for visual leak inspection
- Test run generator and shore power functions
- Test plumbing system for leaks
- Install rear entry door
- Prep truck exterior for wrapping
- Check loaded truck for level load
- Add suspension springs as needed to level truck